

The Ultimate Guide to NAT VPS: Setup and Best Use Cases
A couple of years ago, I was juggling multiple small projects on a tight budget—think affiliate sites and test environments for web apps. Dedicated VPS plans were eating my wallet, but shared hosting felt too cramped. That’s when I discovered NAT VPS, a sweet spot that gave me VPS flexibility without the full IP cost. If you’re looking to scale affordably or experiment without breaking the bank, NAT VPS could be your go-to. In 2025, with hosting prices fluctuating and demands for privacy rising, understanding NAT VPS is key. This guide covers everything from what it is to hands-on setup and real-world uses, drawing from my own builds. Let’s unpack it and get you running a NAT VPS that punches above its weight.
What Is a NAT VPS?
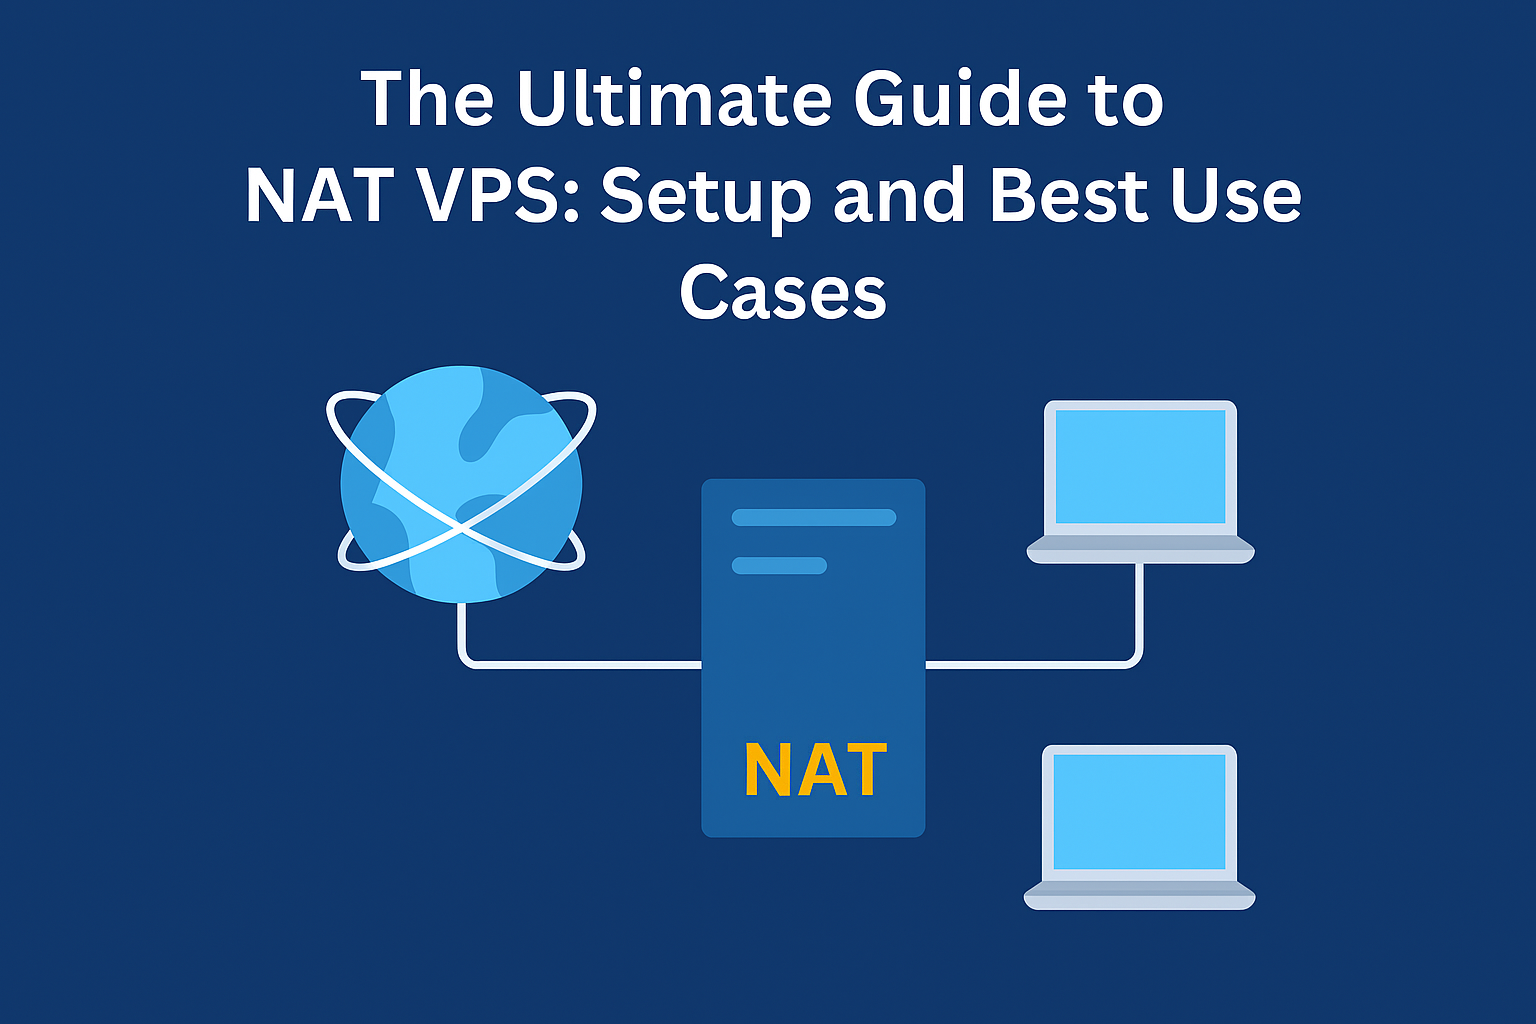
NAT VPS stands for Network Address Translation Virtual Private Server. It’s basically a VPS where multiple users share a single public IP address, with your traffic routed through private IPs behind the scenes. Think of it like an apartment building: Everyone has their own unit (your VPS), but you all share the front door (the public IP).
Unlike a dedicated VPS with its own IP, NAT uses port forwarding to handle connections. This keeps costs low—plans start at $5-10/month versus $20+ for dedicated. I first used one for a staging site, and the savings let me spin up three more without stress.
Key perks: Isolation for your apps, root access, and scalability. But it’s not for everything—more on that later.
NAT VPS vs. Dedicated VPS: Which Is Right for You?
Choosing between NAT and dedicated boils down to your needs. Here’s a quick comparison I use when advising friends:
Feature | NAT VPS | Dedicated VPS |
|---|---|---|
IP Address | Shared public IP with port forwarding | Unique public IP |
Cost | Budget-friendly ($5-15/mo) | Higher ($20-50/mo) |
Performance | Solid for most tasks, potential port conflicts | Full bandwidth, no sharing |
Use Cases | Testing, low-traffic sites, bots | High-traffic, email servers, custom ports |
Privacy | Good, but shared IP can flag in some tools | Better for anonymity |
I stick with NAT for dev work but upgrade to dedicated for client-facing sites. If your project needs open ports (e.g., email on 25), dedicated wins; otherwise, NAT saves cash.
Benefits and Drawbacks of NAT VPS
Pros:
Affordable Scaling: Run multiple VPS on one plan without IP fees.
Resource Efficiency: Get CPU/RAM/disk without paying for extras.
Quick Setup: Most hosts offer instant deployment.
Privacy Boost: Shared IPs make tracking harder for casual snoops.
Cons:
Port Limitations: Only certain ports are available; conflicts can arise.
Potential Slowdowns: Heavy neighbor traffic might affect you (though rare on good hosts).
Not for All Apps: Avoid if you need full IP control, like VPNs or game servers.
In my experience, the pros outweigh the cons for 80% of my projects—especially when testing SEO setups or running scripts.
Step-by-Step Setup: Getting Your NAT VPS Running
Setting up a NAT VPS is straightforward, even if you’re new to servers. I’ll walk you through it using Linux (Ubuntu), as it’s the most common. Assume you’ve signed up with a provider like LetsHosting’s NAT VPS.
Step 1: Choose and Provision Your Plan
Pick specs: 2-4 CPU cores, 4-8GB RAM, 50GB SSD for starters.
Deploy: Most hosts boot in minutes. You’ll get an IP, root password, and port details.
Step 2: Secure Your Access
SSH in: ssh root@your_shared_ip -p your_ssh_port
Change password: passwd
Set up firewall: sudo apt install ufw; sudo ufw allow from your_ip to any port your_ssh_port; sudo ufw enable
I always add SSH keys for passwordless login—safer and faster.
Step 3: Install Essentials
Update system: sudo apt update && sudo apt upgrade -y
Install tools: sudo apt install apache2 mysql-server php libapache2-mod-php php-mysql (for a LAMP stack).
Configure ports: Your host maps public ports to your private ones—e.g., public 8080 to your 80.
Test by visiting http://shared_ip:your_mapped_port—you should see Apache’s page.
Step 4: Deploy Your Application
For a WordPress site:
Download: wget https://wordpress.org/latest.tar.gz; tar -xvzf latest.tar.gz
Move files: sudo mv wordpress/* /var/www/html/
Set permissions: sudo chown -R www-data:www-data /var/www/html
Create database: Log into MySQL and run CREATE DATABASE wp_db; CREATE USER ‘wp_user’@’localhost’ IDENTIFIED BY ‘password’; GRANT ALL ON wp_db.* TO ‘wp_user’@’localhost’;
Finish install via browser: http://shared_ip:your_http_port
I’ve set up dozens this way—smooth as long as you note your ports.
Step 5: Optimize and Monitor
Enable caching: Install Redis or Memcached.
Monitor: sudo apt install htop; htop to watch resources.
Backups: Use rsync to a remote drive weekly.
Best Use Cases for NAT VPS in 2025
NAT VPS shines in scenarios where cost and flexibility matter more than a dedicated IP. Here are my favorites:
Development and Testing Environments: Spin up sandboxes for web apps without full VPS costs. I use them for staging sites before going live.
SEO and Proxy Setups: Multiple IPs for backlinks or scraping, but on a budget. Shared NAT keeps things cheap.
Bot and Automation Servers: Run scripts for data collection or social media tools—ports are sufficient, privacy is a plus.
Low-Traffic Blogs or Portfolios: Host personal sites with databases and emails forwarded via ports.
Learning and Experimentation: Perfect for noobs tinkering with Linux, Docker, or Kubernetes without big spends.
One client saved 40% by moving his test bots to NAT—same performance, half the bill.
Tips and Best Practices for NAT VPS Success
Port Management: List all needed ports upfront; most hosts allow 10-20 per VPS.
Choose Reputable Hosts: Look for 99.9% uptime and good reviews. Avoid those with overcrowding.
Scale Smart: Start small, monitor usage, upgrade RAM/CPU as needed.
Security First: Always use HTTPS, update software, and scan for vulnerabilities.
Backup Religiously: NAT’s shared nature means host issues affect you—offsite backups are key.
I check my NAT VPS logs weekly; caught a misconfig early that could’ve caused downtime.
Wrapping Up: Unlock Affordable Power with NAT VPS
NAT VPS is the unsung hero for budget-savvy builders who need VPS perks without the premium price. From setup to scaling, it’s versatile enough for devs, bloggers, and experimenters alike. I’ve relied on them for years, and they’ve never let me down for the right jobs. If you’re ready to dive in, explore LetsHosting’s NAT VPS options—their plans are optimized for speed and ease, with flexible ports.
