How to Deploy Plesk Using the DigitalOcean App Marketplace?
Below is a comprehensive guide on deploying Plesk using the DigitalOcean App Marketplace. This guide is designed to be clear and user-friendly, ensuring that even beginners can easily follow along. It covers all the essential steps, from logging into your DigitalOcean account to accessing and configuring your Plesk instance. Additionally, it includes helpful tips for post-deployment setup and references to further resources for continued learning.
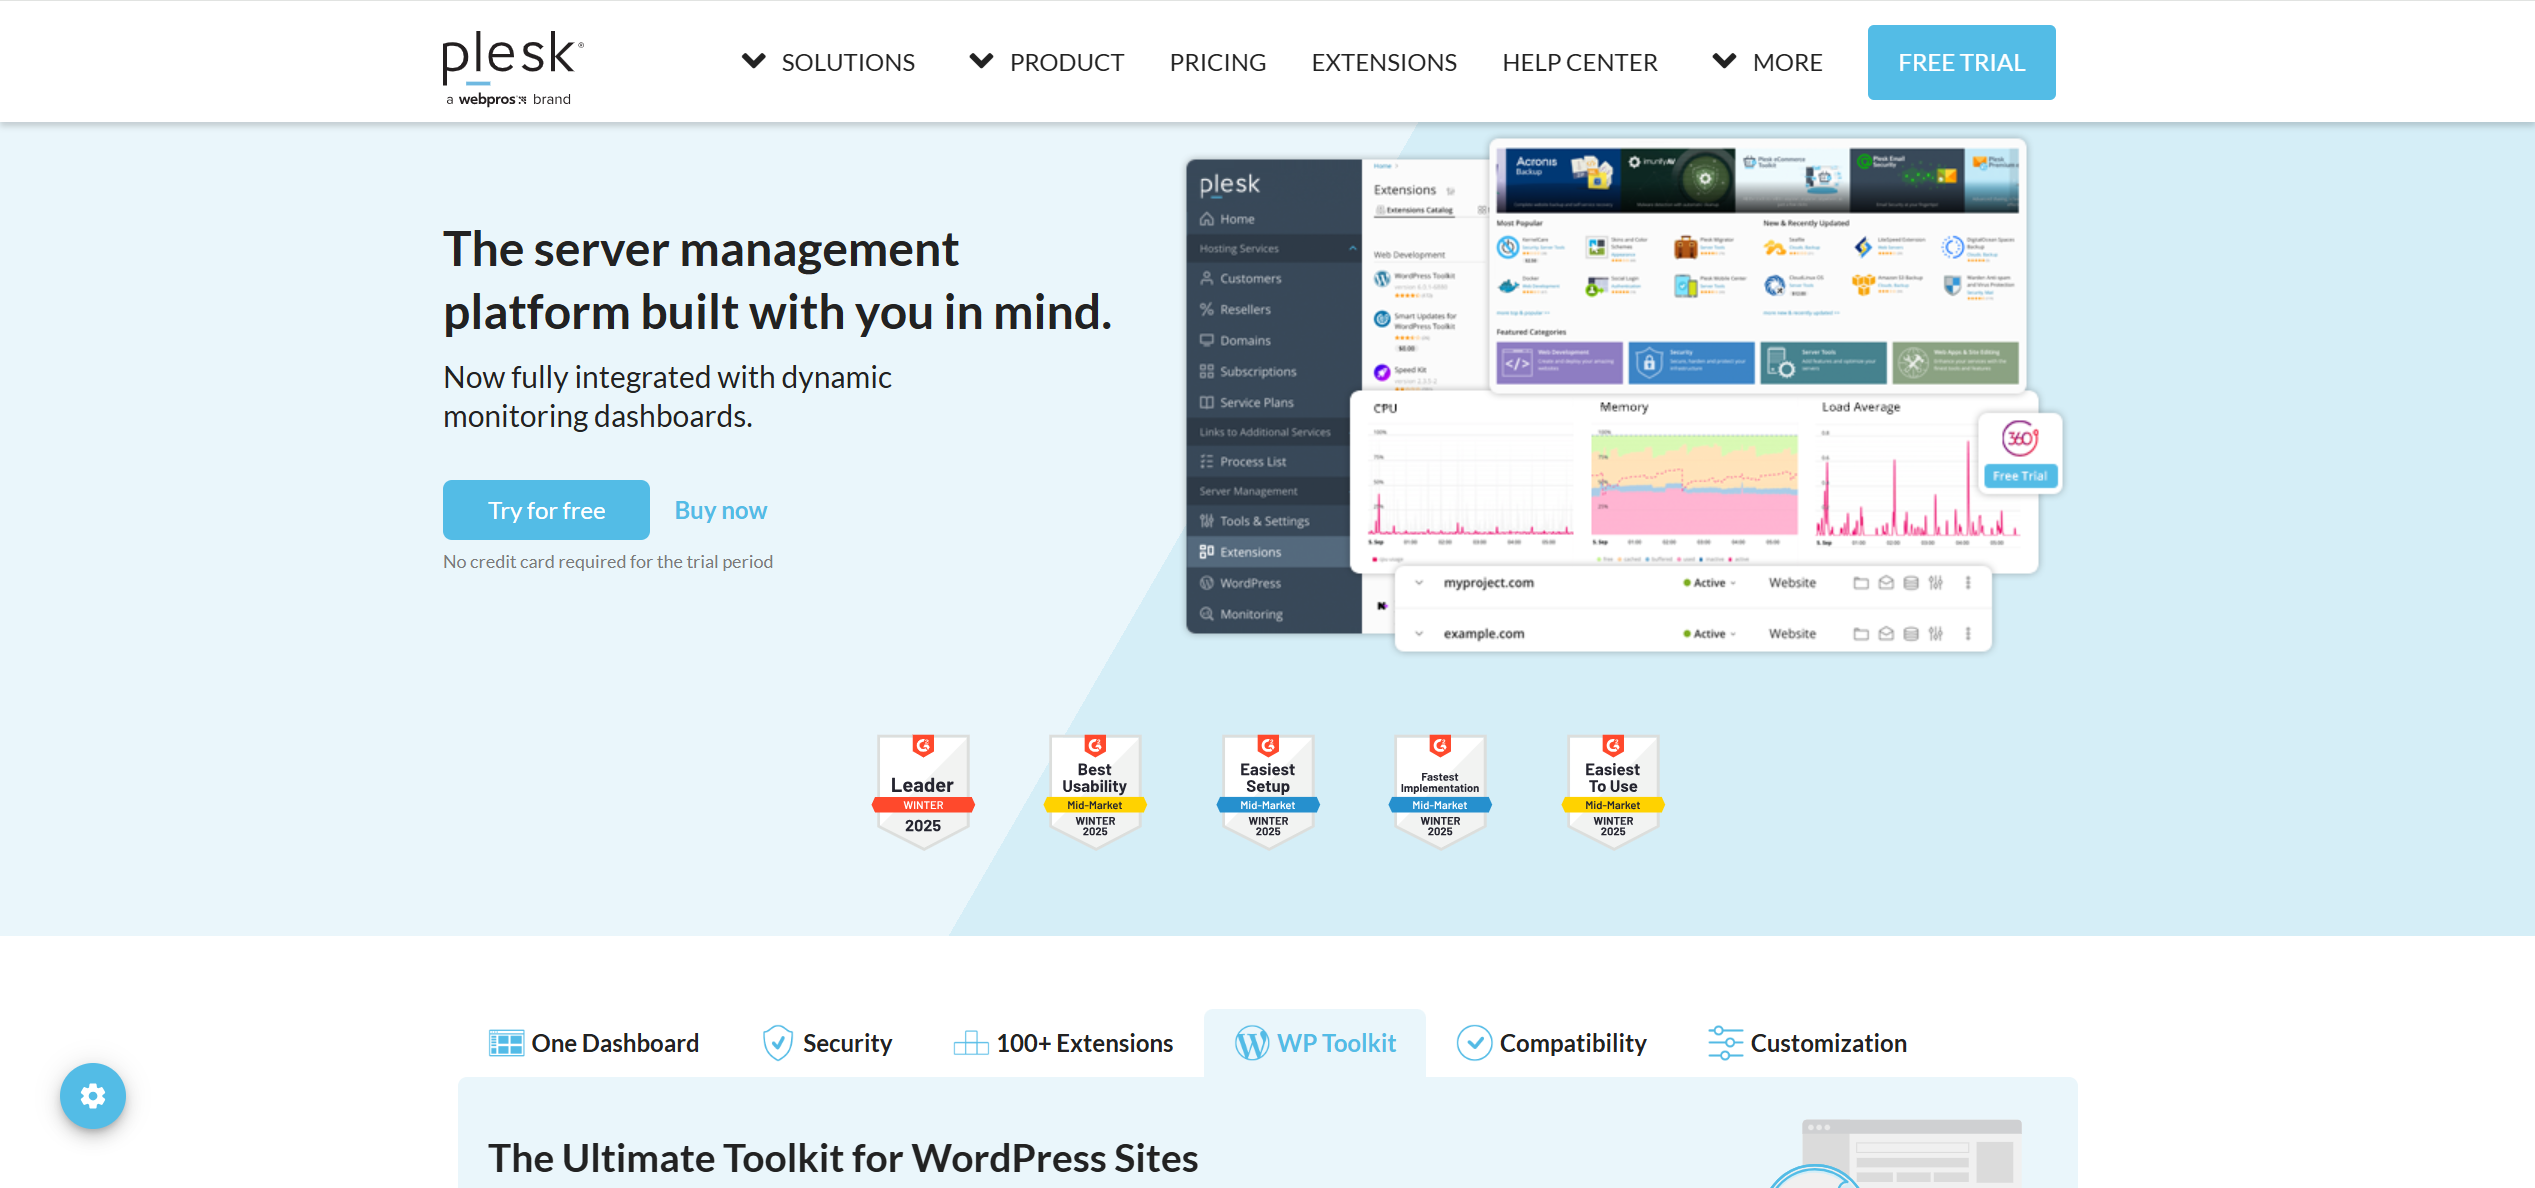
Plesk is a powerful web hosting control panel that simplifies server management, making it easier to host websites, manage domains, databases, and other web-related services. Whether you’re a web developer, a hosting provider, or a business owner, Plesk provides an intuitive interface to handle complex tasks with ease.
The DigitalOcean App Marketplace offers a streamlined way to deploy pre-configured applications like Plesk with just a few clicks. By following this guide, you’ll have Plesk up and running on a DigitalOcean droplet (DigitalOcean’s term for a virtual private server) in no time.
Why Use Plesk on DigitalOcean?
-
Ease of Use: Plesk’s user-friendly interface simplifies server management, even for those with limited technical experience.
-
Scalability: DigitalOcean’s flexible droplet options allow you to scale your resources as your needs grow.
-
Security: Plesk comes with built-in security features like a firewall, Fail2Ban, and ModSecurity, while DigitalOcean provides additional protections such as DDoS mitigation.
-
Integration: Seamless integration with DigitalOcean’s services, including DNS management, makes it easier to manage your infrastructure.
Step-by-Step Guide to Deploy Plesk on DigitalOcean
Step 1: Log in to Your DigitalOcean Account
-
Once logged in, you’ll be directed to the DigitalOcean control panel.
Step 2: Navigate to the Marketplace
-
In the left-hand navigation bar, click on “Marketplace” under the “DISCOVER” section.
-
This will take you to the DigitalOcean App Marketplace, where you can browse and deploy various applications.
Step 3: Search for Plesk
-
In the Marketplace search bar, type “Plesk”.
-
You will see options like “Plesk on Ubuntu 22.04” or “Plesk on AlmaLinux 9”. Choose the one that matches your preferred operating system.
Step 4: Choose a Plan and Droplet Size
-
After selecting the Plesk image, click “Create Plesk Droplet”.
-
Select a plan that suits your needs (e.g., Standard, General Purpose, etc.).
-
Choose a droplet size based on your expected usage:
-
For testing or small websites: A droplet with 1 GB RAM and 1 vCPU is sufficient.
-
For production environments with multiple websites or higher traffic: Opt for at least 2 vCPUs and 4 GB RAM.
-
-
Note: The more websites you host and the higher the traffic, the more resources you’ll need. You can always upgrade your droplet later if necessary.
Step 5: Configure Additional Options (Optional)
-
You can add extra features like block storage, backups, or monitoring, but these are not required for Plesk to function.
-
For a basic setup, you can skip these options and proceed.
Step 6: Set Up Authentication
-
Choose how you’ll access your droplet:
-
SSH Keys (Recommended): If you have SSH keys set up in your DigitalOcean account, select them for secure access.
-
Password: If you prefer, you can set a strong root password. However, SSH keys are more secure.
-
Step 7: Deploy the Droplet
-
Give your droplet a recognizable name (e.g., “plesk-server”).
-
Decide how many droplets you want to deploy. For most users, one is sufficient.
-
Click “Create Droplet” to begin the deployment process.
Step 8: Wait for Deployment
-
The deployment may take a few minutes. You can monitor the progress in the DigitalOcean control panel.
-
Once the droplet is created, you’ll receive an email with the droplet’s IP address and login credentials.
Step 9: Access Plesk
-
Open a web browser and navigate to https://<your-droplet-IP>:8443.
-
Important: You may see a security warning about the SSL certificate. This is because Plesk uses a self-signed certificate by default. It’s safe to proceed.
-
On the Plesk login page, enter the root username and the password you set during deployment (or use SSH keys if selected).
Step 10: Complete the Initial Setup
-
After logging in, you’ll be redirected to the Plesk welcome screen.
-
Provide your contact name and email address.
-
Read and accept the End-User License Agreement.
-
Set a new administrator password (this will be used for future logins).
-
Click “Enter Plesk” to start using the control panel.
Post-Deployment Tips
Once Plesk is deployed, consider the following to optimize your setup:
Set Up DNS Hosting with DigitalOcean DNS
-
For better reliability and reduced server load, use DigitalOcean DNS instead of managing DNS internally in Plesk.
-
How to set it up:
-
Install the DigitalOcean DNS extension in Plesk (if not already installed).
-
Configure the extension by providing your DigitalOcean API credentials or using OAuth.
-
All domains in Plesk will automatically sync with DigitalOcean DNS.
-
Update your domain’s nameservers at your registrar to DigitalOcean’s nameservers:
ns1.digitalocean.com, ns2.digitalocean.com, and ns3.digitalocean.com.
-
-
Note: DNS changes may take up to 24 hours to propagate fully.
Assign a Floating IP Address
-
For production websites, consider assigning a floating IP to your droplet. This ensures consistent access even if you need to rebuild or move your droplet.
Consider License Upgrades
-
The Plesk instance deployed via the Marketplace comes with a free license for up to 3 domains (Web Admin Edition SE).
-
If you need to manage more domains or access premium features, you can upgrade your license through Plesk.
Enhance Security
-
After logging in, consider changing the root password via SSH for added security.
-
Plesk comes with security tools like Fail2Ban and ModSecurity. Familiarize yourself with these to protect your server.
Additional Resources
-
Official Plesk Documentation: For detailed guides and troubleshooting, refer to the Plesk Knowledge Base.
-
Video Tutorials: Search for video guides on platforms like YouTube for visual walkthroughs of Plesk deployment and management.
-
Learning Courses: If you’re interested in mastering Plesk for WordPress hosting, consider exploring relevant courses on platforms like Udemy.
Conclusion
Congratulations! You’ve successfully deployed Plesk on DigitalOcean using the App Marketplace. With Plesk’s intuitive interface and DigitalOcean’s reliable infrastructure, you’re now equipped to host and manage your websites efficiently. If you encounter any challenges or have questions, don’t hesitate to consult the Plesk documentation or seek support from the community.