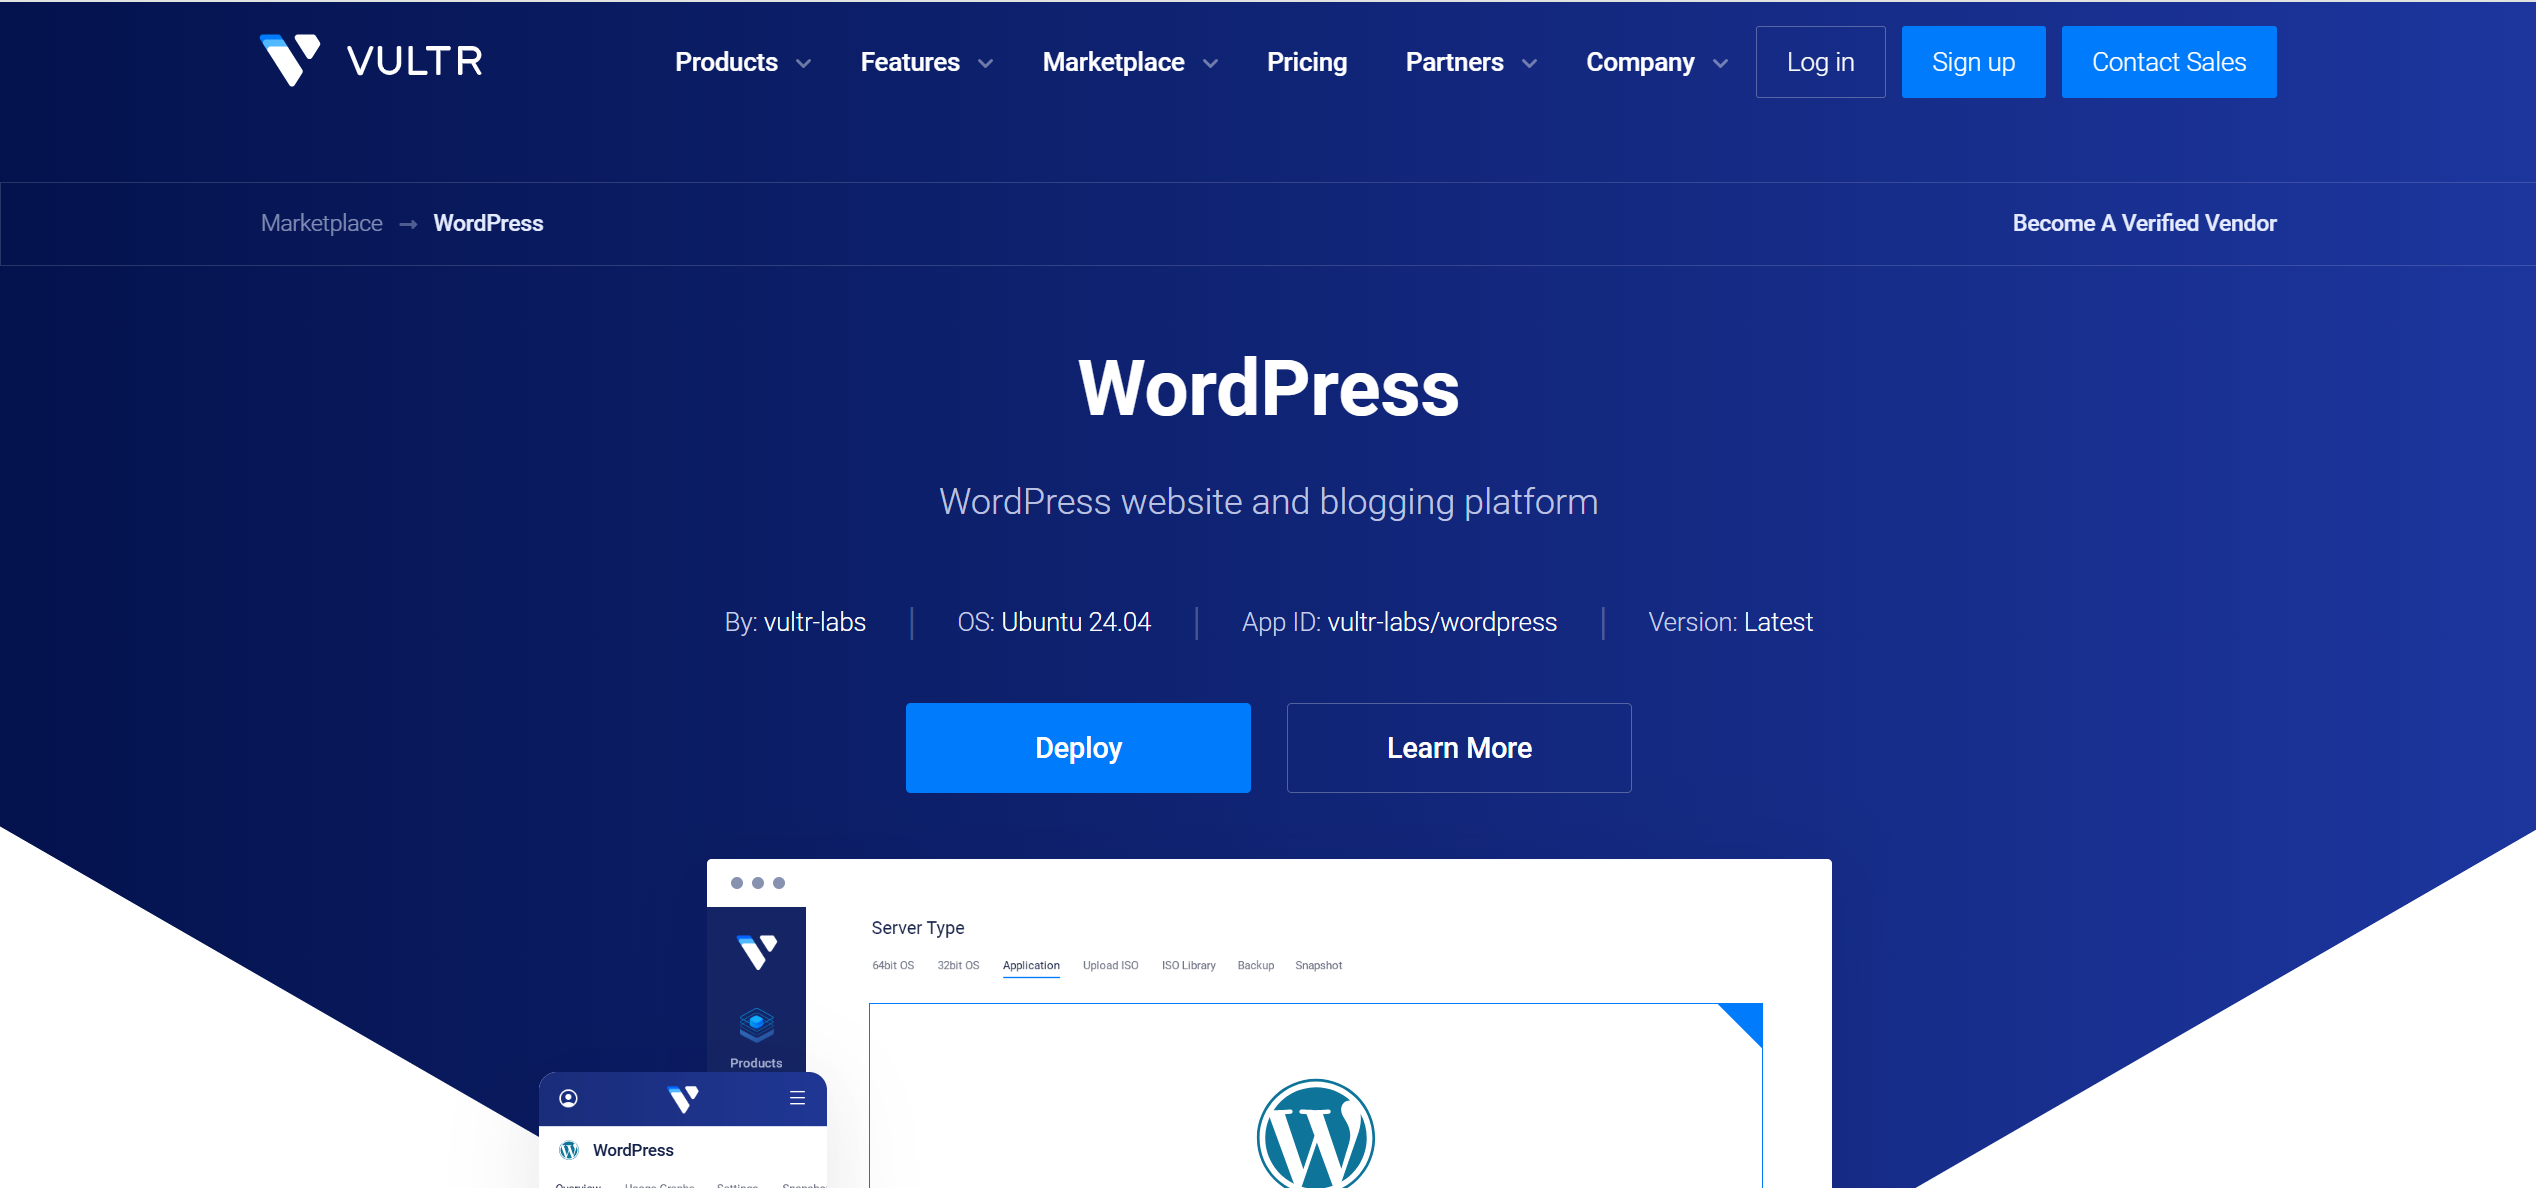
How to Use Vultr App Marketplace to Deploy WordPress: A Detailed Guide
Deploying a WordPress site has never been easier, thanks to Vultr’s App Marketplace. This guide will walk you through the entire process, from setting up your Vultr account to launching and securing your WordPress site. Whether you’re a beginner or an experienced user, you’ll find step-by-step instructions to get your website up and running quickly and efficiently.
Introduction
Vultr is a cloud hosting provider offering virtual private servers (VPS) with a variety of configurations to meet different needs. One of its standout features is the App Marketplace, which allows users to deploy pre-configured applications, like WordPress, with just a few clicks. This eliminates the need for manual server setup, making it an ideal solution for launching a website fast. In this guide, we’ll cover how to use the Vultr App Marketplace to deploy WordPress, including server selection, configuration, and essential post-deployment tasks.
Step-by-Step Instructions
Step 1: Create a Vultr Account and Log In
To begin, you’ll need a Vultr account:
- After signing up, log in to the Vultr dashboard. This is your control center for managing servers and accessing the App Marketplace.
Step 2: Navigate to the Marketplace
Once logged in:
- Locate the “Marketplace” tab in the top navigation bar of the dashboard.
- Click it to enter the App Marketplace, where you’ll find a variety of pre-configured applications ready for deployment.
Step 3: Select the WordPress Application
In the Marketplace:
- Use the search bar to type “WordPress” or browse the list of applications until you find it.
- Click on the WordPress application to view its details. Vultr’s WordPress app is optimized for ease of use, pre-installed with tools to simplify setup and management.
Step 4: Choose Server Size and Location
Next, configure your server:
- Server Size: Pick a plan based on your site’s needs. For a typical WordPress site, a server with at least 1 CPU and 2 GB of RAM is recommended. If you expect higher traffic or plan to use resource-heavy plugins, opt for a larger size (e.g., 2 CPUs and 4 GB RAM).
- Server Location: Select a data center closest to your target audience to reduce latency and improve load times. Vultr offers multiple locations worldwide—choose wisely!
Step 5: Configure Additional Settings
Before deploying, tweak these optional settings:
- SSH Keys: Add an SSH key for secure, password-less access to your server. If you don’t have one, you can generate it on your local machine and upload the public key here.
- Firewall Rules: Vultr provides a default firewall setup allowing traffic on:
- SSH (port 22)
- HTTP (port 80)
- HTTPS (port 443) This ensures accessibility while keeping your server secure. You can modify rules later via SSH if needed.
Step 6: Review and Deploy
Double-check your settings:
- Ensure the server size, location, and additional configurations are correct.
- Click “Deploy Now” to launch your server. Vultr’s system will set everything up, typically in under a minute.
Step 7: Access Your WordPress Installation
Once deployment is complete:
- Find Your Server’s IP Address: Go to your server instance in the Vultr dashboard and note the public IP address.
- Visit the Site: Open a browser and enter https://your-server-ip/. You might see a security warning due to Vultr’s default self-signed SSL certificate—proceed past it for now.
- Log In: Access the WordPress admin panel at https://your-server-ip/wp-admin/ using:
- Username: wpauser
- Password: Check your server details in the Vultr dashboard for the WordPress Administrator Password. Important: Change these credentials immediately after logging in for security.
Step 8: Complete the WordPress Setup
After logging in:
- Follow the on-screen prompts to:
- Set a site title and description.
- Create a new admin user (replace the default one).
- Adjust settings like timezone and permalinks.
- Once finished, your WordPress site is live and ready for content!
Post-Deployment Tasks
To keep your site secure and optimized, complete these tasks:
Update WordPress and Plugins
- Regularly check for updates to WordPress core, themes, and plugins via the dashboard under “Updates”. Keeping everything current ensures security and performance.
Configure Email Settings
- Vultr’s WordPress app includes the SMTP Mailer plugin. Configure it with an external SMTP service (e.g., Gmail, SendGrid) for reliable email delivery. Find it under “Plugins” > “Installed Plugins”.
Set Up Backups
- Protect your site with backups. Vultr offers snapshot backups for an additional fee—enable this in the dashboard to create restorable server images.
Install a Trusted SSL Certificate
- Vultr provides a self-signed SSL certificate, but for better security and trust:
- Use Certbot (pre-installed) to install a free Let’s Encrypt SSL certificate. Follow the app’s documentation for setup instructions.
- Alternatively, purchase a commercial certificate if preferred.
Explore Pre-Installed Tools
Vultr’s WordPress app includes handy tools:
- Cockpit: Manage your server at https://your-server-ip:9080/ using your server credentials.
- phpMyAdmin: Access database management at https://your-server-ip/mysqladmin/ with the provided login details.
Additional Tips
- Add a Custom Domain: Point a domain to your server’s IP via your registrar’s DNS settings (e.g., set an A record) for a professional look.
- Enhance Security: Use the pre-installed Wordfence plugin to add firewall protection and malware scanning.
- Optimize Performance: Install a caching plugin (e.g., W3 Total Cache) and optimize images to boost site speed.
Conclusion
Using the Vultr App Marketplace, you can deploy a fully functional WordPress site in minutes. With its reliable infrastructure, pre-installed tools, and one-click deployment, Vultr simplifies the process for users of all skill levels. Follow this guide, and you’ll have a secure, optimized website ready to grow with your needs.