Deploying CloudPanel 2 on Ubuntu 24.04 via Vultr App Marketplace (Detailed Guide)
Introduction
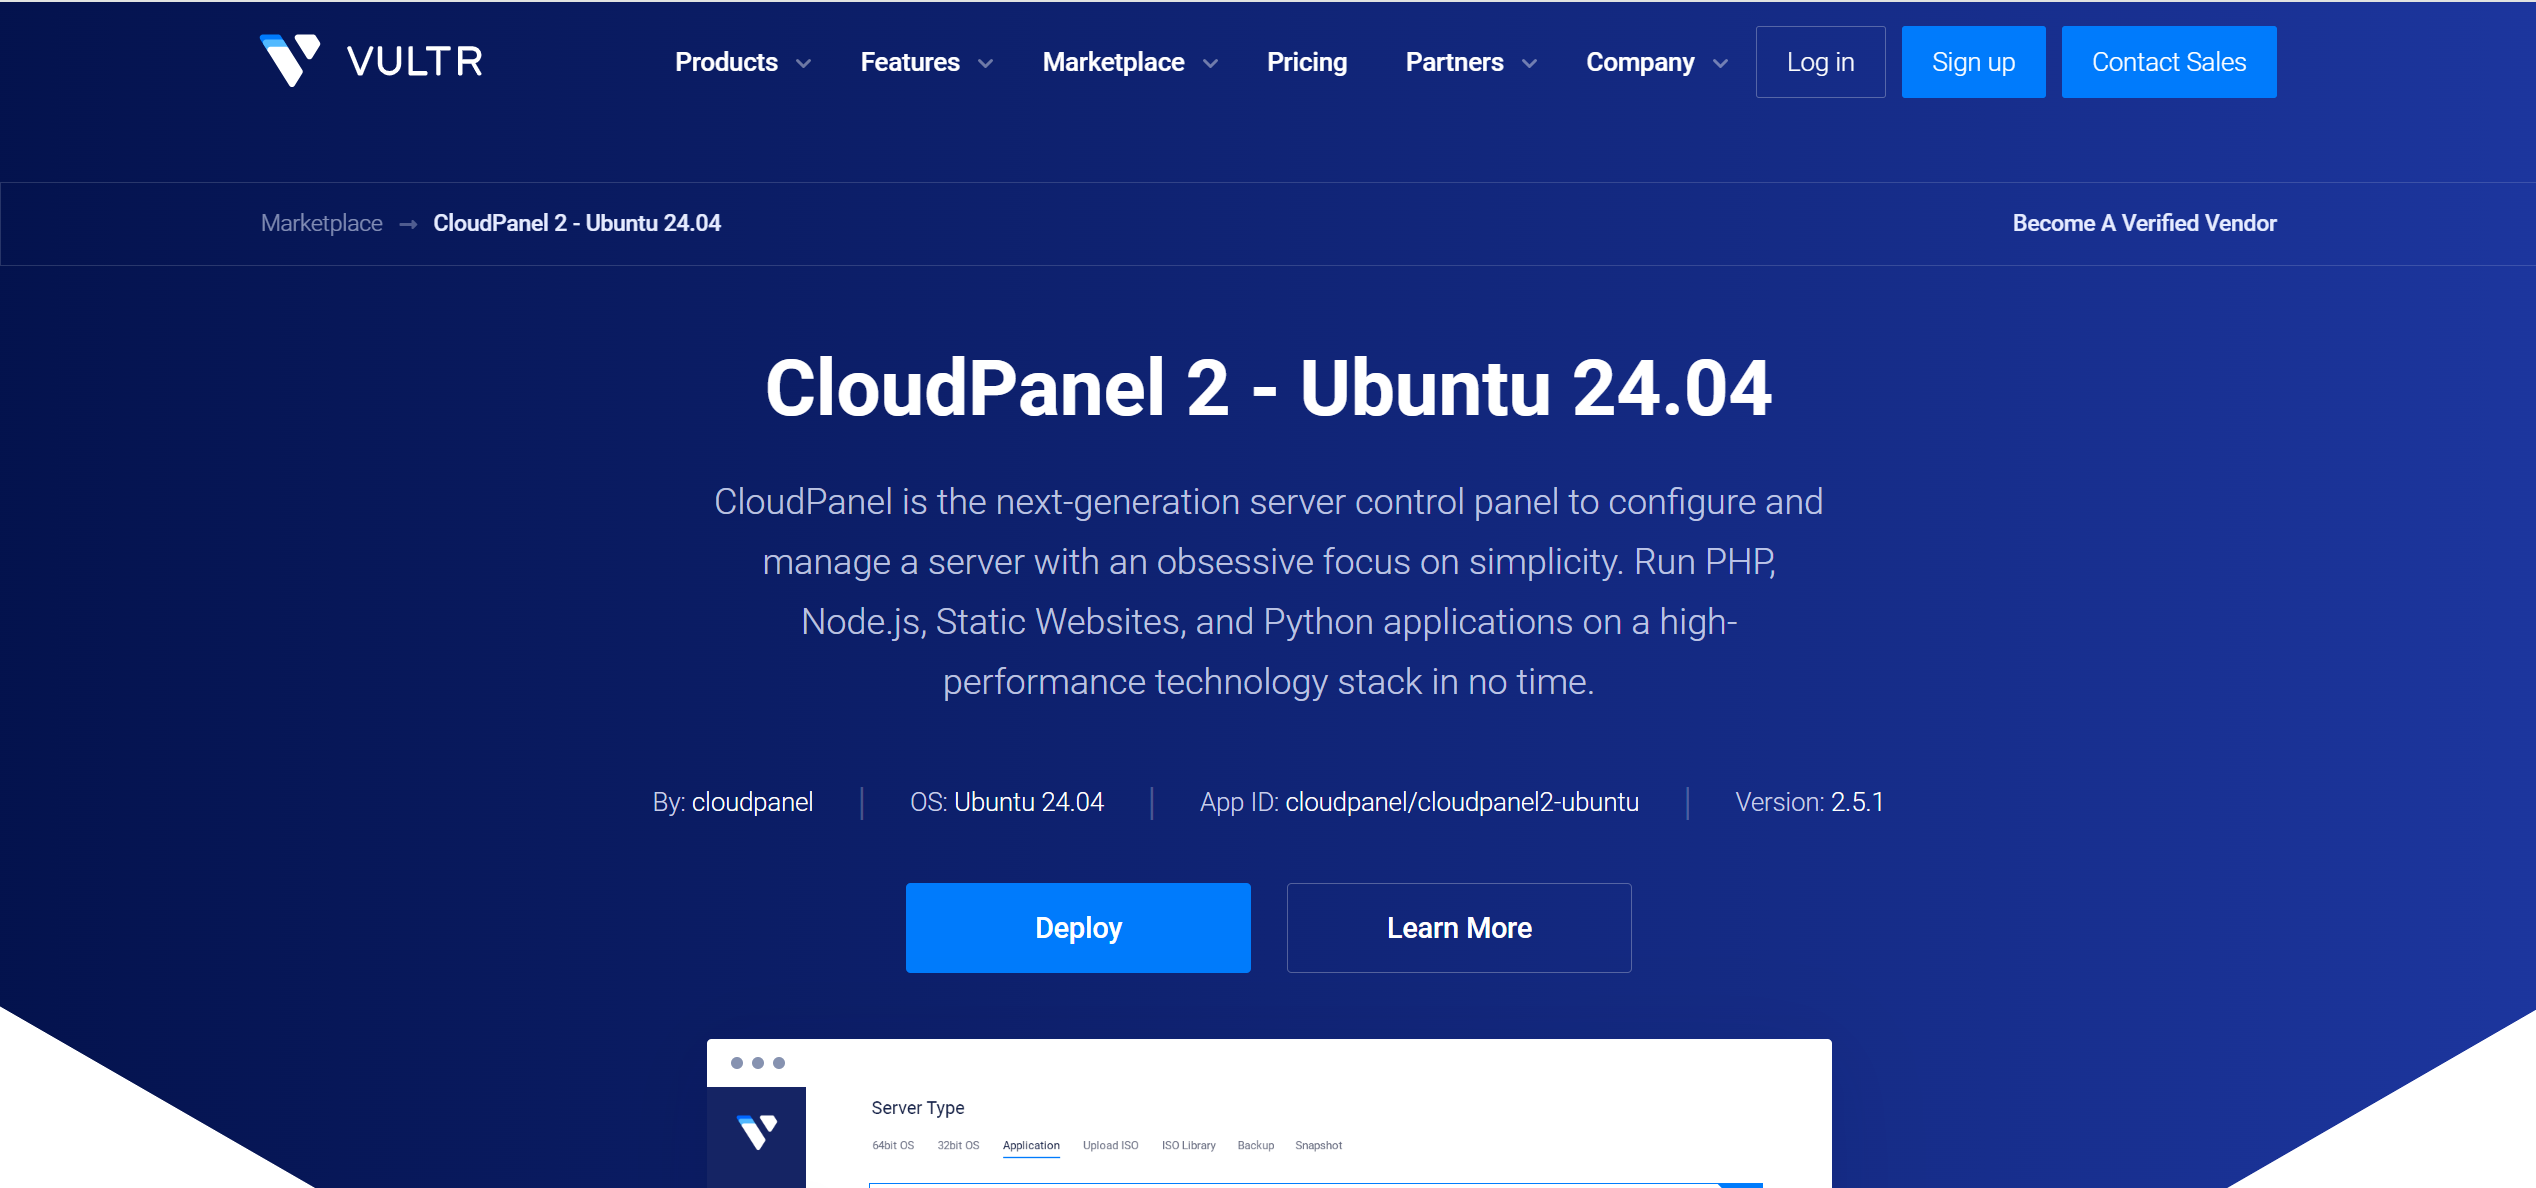
CloudPanel 2 is a sleek, modern server control panel that makes managing apps like PHP, Node.js, and Python a breeze on a high-performance stack. With Vultr’s App Marketplace, you can set it up with just a few clicks, even if you’re new to server management. Let’s dive into the step-by-step process to get you up and running.
Prerequisites
Before you start, make sure you have:
- An SSH key is added to your Vultr account for secure access to your server.
Step-by-Step Guide to Deploy CloudPanel 2 on Ubuntu 24.04
Step 1: Log In to Vultr
Head over to Vultr’s login page and sign in with your credentials. This is your starting point for accessing the deployment tools.
Step 2: Start the Deployment Process
To deploy CloudPanel 2, use this direct link: Deploy CloudPanel 2 on Vultr. This takes you straight to the Marketplace setup for CloudPanel 2 on Ubuntu 24.04.
Step 3: Choose Your Instance Type
Select the type of compute instance that suits your needs. For dedicated resources, go with Optimized Cloud Compute (Dedicated CPU). If you’re running lighter workloads, a Shared CPU instance will work just fine.
Step 4: Pick a Server Location
Choose a data center location closest to your target audience to ensure low latency and faster load times. Vultr has multiple global options, so pick strategically.
Step 5: Select a Server Plan
Opt for the AMD High Performance plan with at least 1 vCPU and 2 GB of memory. This configuration is recommended for smooth performance with CloudPanel 2, balancing cost and capability.
Step 6: Configure Server Settings
In the server settings, select your SSH key for secure access. If you haven’t added one yet, generate an SSH key pair and upload the public key to your Vultr account. This is crucial for securely connecting to your server later.
Step 7: Set Hostname and Deploy
Enter a unique hostname for your server (something memorable works best). Once everything looks good, hit the Deploy Now button to kick off the deployment process. Vultr will spin up your instance in a few minutes.
Step 8: Access CloudPanel in Your Browser
Once the deployment is complete, open your browser and navigate to [invalid url, do not cite]. You might see a self-signed certificate warning—don’t worry, just click Advanced and then Proceed to access the CloudPanel interface.
Step 9: Create an Admin User
Right after accessing CloudPanel, create an admin user. This is a critical security step to lock down your panel and prevent unauthorized access (bots can try to sneak in if you delay this).
Step 10: Secure Your Server
To keep your server safe, restrict access to port 8443 (used by CloudPanel) to only your IP address. You can set this up using Vultr’s firewall—check out their guide at Vultr Firewall for detailed instructions.
What’s Included in CloudPanel 2?
When you deploy CloudPanel 2 on Ubuntu 24.04 via Vultr, you get a powerful tech stack ready to roll:
- Web Server: NGINX 1.26 with HTTP/3 and PageSpeed for blazing-fast performance.
- Database: MySQL 8.0 or MariaDB, giving you flexible database options.
- PHP: Support for versions 7.1 through 8.4, covering a wide range of apps.
- Caching: Redis 7 and Varnish 7.5 to boost site speed.
- FTP Server: ProFTPD 1.3 for secure file transfers.
- Node.js: Versions 12, 14, 16, 18, 20, and 22 for JavaScript-based apps.
- Python: Version 3.12 for Python projects.
This stack makes CloudPanel versatile, whether you’re hosting a simple website or a complex application.
Costs to Keep in Mind
Your costs will depend on the server plan you choose (e.g., AMD High Performance with 1 vCPU and 2 GB of memory). For exact pricing, head to Vultr Pricing. It’s always good to review this to avoid surprises on your bill.
Where to Get Help
If you run into any hiccups, CloudPanel and Vultr have solid support options:
- Email the CloudPanel team at [email protected].
Follow
@cloudpanel_ioon X for updates.
Wrapping Up
That’s it—you’re now equipped to deploy CloudPanel 2 on Ubuntu 24.04 using Vultr’s App Marketplace! This guide covers everything from logging in to securing your server, so you can focus on building awesome projects.