

Introduction to Deploying Ubuntu Desktop (XFCE) on Vultr Using One-Click Apps
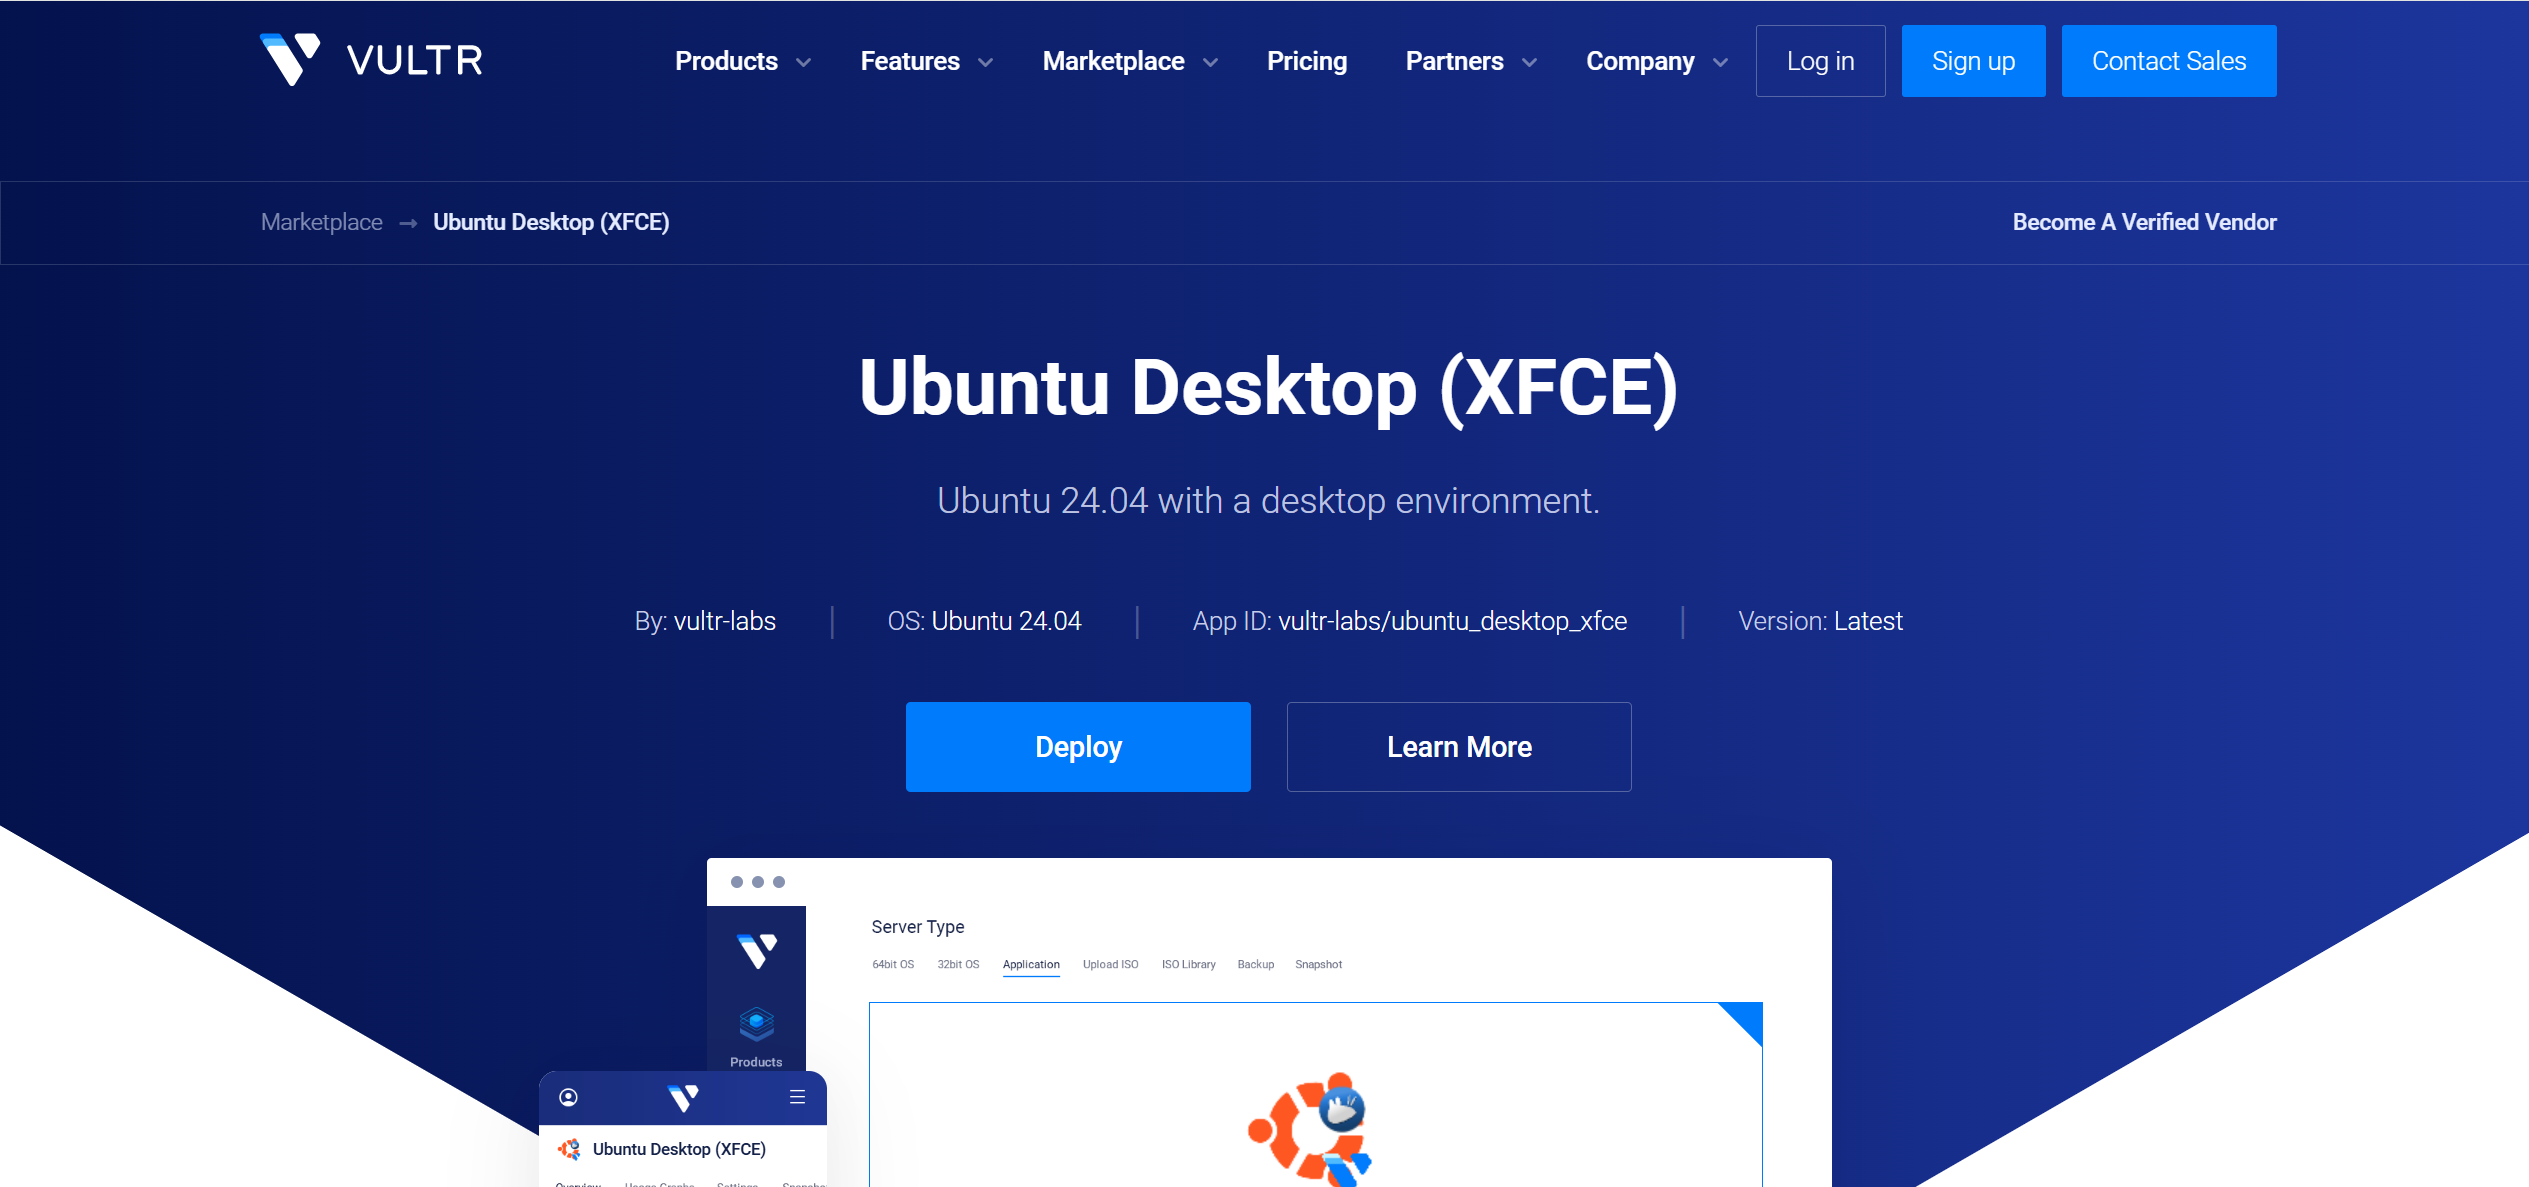
Vultr is a cloud infrastructure provider that offers One-Click Apps (also known as Marketplace Apps) to simplify the deployment of pre-configured server setups. The Ubuntu Desktop (XFCE) app allows you to quickly spin up a remote Ubuntu server with the lightweight XFCE desktop environment installed, along with VNC for remote access. This is ideal for users who need a graphical user interface (GUI) on a cloud VPS for tasks like remote development, testing, or running desktop applications.
XFCE is a fast, resource-efficient desktop environment, making it suitable for cloud instances where performance matters. The deployment uses Ubuntu as the base OS (typically the latest LTS version available in Vultr’s marketplace, such as 22.04 or 24.04, depending on updates).
Important Notes:
- This guide assumes you have a Vultr account. If not, sign up at vultr.com.
- Deployment costs depend on the instance size; Vultr charges hourly or monthly based on resources (e.g., starting around $5/month for basic plans).
- You’ll need a VNC client on your local machine to access the desktop remotely.
- Always back up important data, as cloud instances can be ephemeral.
Prerequisites
Before starting, ensure you have:
- Access to the Vultr Customer Portal (log in at my.vultr.com).
- A funded Vultr account (add credit if needed via billing settings).
- A VNC client installed on your local workstation. Recommended options include:
– TigerVNC (free, cross-platform; download from tigervnc.org).
– RealVNC Viewer.
– TightVNC or any compatible VNC viewer. - Optional: An SSH key pair for enhanced security (generate one if you don’t have it, e.g., using
ssh-keygenon Linux/macOS). - Basic familiarity with cloud VPS concepts, though the process is beginner-friendly.
Step-by-Step Deployment Process
Follow these steps to deploy the Ubuntu Desktop (XFCE) One-Click App:
Log in to the Vultr Customer Portal:
– Open your web browser and go to my.vultr.com.
– Sign in with your Vultr credentials.Navigate to Deploy a New Instance:
– From the dashboard, click on Products in the left sidebar.
– Select Compute from the options.Choose Instance Type:
– Select your preferred instance type. For Ubuntu Desktop (XFCE), recommended options include:
– Cloud Compute: General-purpose, cost-effective for most users.
– Optimized Cloud Compute: Better for performance-intensive tasks.
– Avoid bare metal or high-frequency options unless you need specialized hardware.Select Server Location:
– Choose a data center location closest to you for lower latency (e.g., New York, London, Tokyo). Vultr has global locations—pick based on your needs.Configure Instance Specifications:
– Under Server Size, select the resources:
– vCPU: Start with 1-2 for basic use; scale up for heavier workloads.
– RAM: At least 2 GB recommended for smooth XFCE performance.
– Storage: 55 GB SSD minimum (Vultr’s default for this app).
– Bandwidth: Defaults are usually sufficient.
– Click Configure Software to proceed.Select the One-Click App:
– In the Marketplace Apps section, use the search bar: Type “Ubuntu” and press Enter.
– From the results, select Ubuntu Desktop (XFCE).Customize App Settings:
– In the desktop user field, enter a username for your desktop account (e.g., “myuser”). This will be your login for the XFCE session.
– Optional configurations:
– SSH Key: Select or add an existing SSH key for secure SSH access (useful for terminal-based management).
– Startup Script: Add any custom script to run on first boot (e.g., for additional software installation).
– Firewall Group: Enable a pre-configured firewall to restrict access (e.g., allow only your IP for VNC port 5900).Set Hostname and Labels:
– In the Server 1 Hostname field, enter a descriptive hostname (e.g., “ubuntu-xfce-desktop”).
– Add any labels for organization.Review and Deploy:
– Scroll to the Deploy Summary section to verify all settings (location, size, app, etc.).
– Click Deploy Now. The instance will provision in a few minutes—monitor progress in the dashboard.
After deployment, the instance will appear in your Products > Compute list. It comes pre-installed with Ubuntu, XFCE, and VNC server (x11vnc or similar). Vultr auto-generates passwords for security.
Accessing the Ubuntu XFCE Desktop
Once deployed, access the remote desktop via VNC:
Gather Connection Details:
– Open your instance’s management page in the Vultr portal.
– In the Overview or App Instructions section, note:
– Desktop User: The username you set (e.g., “myuser”).
– User Password: Auto-generated password for login.
– VNC Address: IP:Port format (e.g., “198.51.100.123:5900”).
– VNC Password: Separate password for VNC authentication.Launch Your VNC Client:
– Open your VNC viewer (e.g., TigerVNC).
– In the connection field, enter the VNC Address (e.g., “198.51.100.123:5900”).
– Click Connect.Authenticate:
– When prompted, enter the VNC Password.
– The XFCE login screen should appear.
– Select your desktop user and enter the User Password to log in.Explore the Desktop:
– You’ll see the XFCE interface, similar to a local Ubuntu desktop.
– Use the Applications menu (top-left or right, depending on theme) to launch apps like Terminal, File Manager, or web browsers.
Adjusting Desktop Settings (e.g., Resolution)
If the resolution doesn’t match your screen:
- On the remote desktop, click Applications > Settings > Display.
- From the Resolution dropdown, select your preferred option (e.g., 1920×1080).
- Click Apply and confirm to keep the changes.
XFCE supports multiple monitors if your VNC client allows it, but test for compatibility.
Security Considerations
- Passwords: Use the auto-generated ones initially, but change them post-login for better security. In XFCE, open Terminal and use
passwdfor the user password. For VNC, edit/etc/vnc.confor similar (restart VNC service after changes). - Firewall: If not set during deployment, enable Vultr’s firewall to allow only TCP port 5900 from your IP. SSH (port 22) is open by default—restrict it.
- Updates: After login, run
sudo apt update && sudo apt upgradein Terminal to keep the system secure. - Encryption: VNC traffic isn’t encrypted by default; consider tunneling via SSH (e.g.,
ssh -L 5900:localhost:5900 user@ip) for secure connections. - Access Control: Avoid exposing VNC to the public internet without restrictions—use VPN or IP whitelisting.
- Backups: Use Vultr snapshots for quick backups before major changes.
Additional Tips and Troubleshooting
- Performance Optimization: For laggy sessions, choose a closer data center or upgrade to more RAM/vCPU. XFCE is lightweight, but heavy apps may require scaling.
- Installing Software: Use Terminal for
aptcommands (e.g.,sudo apt install firefox). - SSH Access: If you added an SSH key, connect via
ssh username@ipfor CLI management. - Common Issues:
– Connection Refused: Check if the instance is running and firewall allows port 5900. Restart VNC on the server if needed (sudo systemctl restart x11vncor equivalent).
– Blank Screen: Ensure correct passwords; try reconnecting.
– Resolution Stuck: Log out/in after changes or restart the desktop session.
– High Latency: Test with a wired connection or different VNC client. - Scaling or Destruction: From the Vultr portal, you can resize, snapshot, or destroy the instance. Destroying stops billing but deletes data unless snapshotted.
- Alternatives: If XFCE isn’t ideal, Vultr offers other desktops like GNOME, but this guide focuses on XFCE.
- Support: Check Vultr Docs or contact support via the portal for issues.
This setup provides a fully functional remote Ubuntu desktop in minutes. For more advanced configurations, explore Vultr’s API or additional Marketplace Apps.
