

Detailed Guide on Deploying MongoDB Using DigitalOcean’s 1-Click App
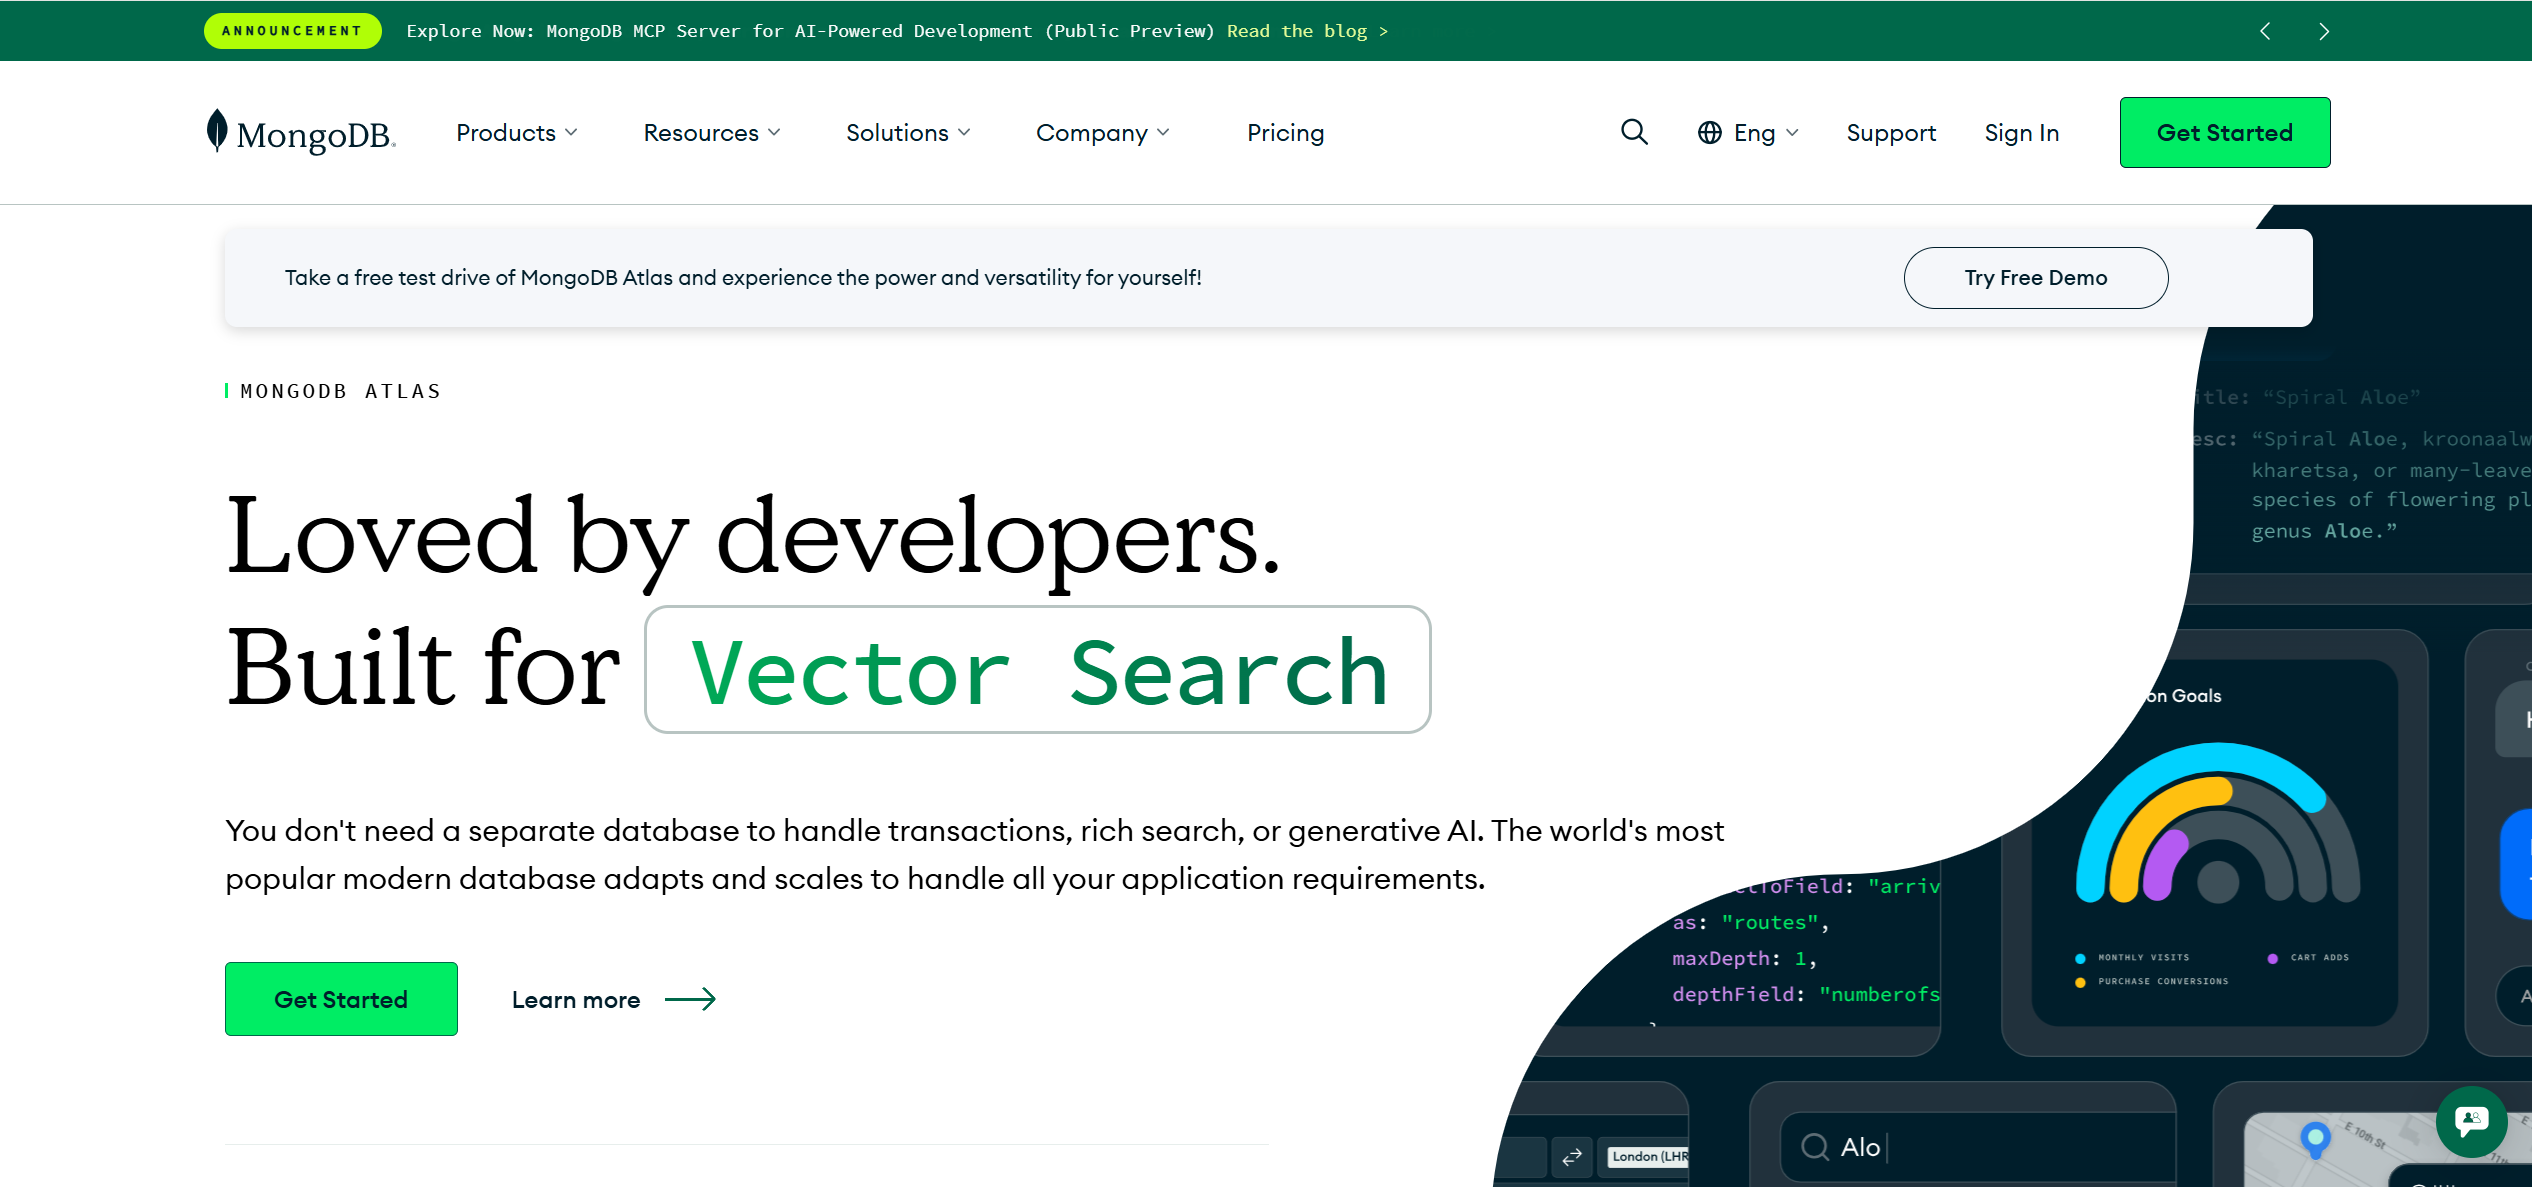
MongoDB, a leading NoSQL database, is renowned for its flexibility, scalability, and ability to manage large volumes of unstructured or semi-structured data. It is particularly favored in modern web applications requiring real-time data processing or complex data structures. DigitalOcean, a prominent cloud platform, enhances accessibility through its 1-Click App for MongoDB, which simplifies deployment, enabling developers to establish a fully functional database instance with minimal effort. This detailed guide, current as of August 5, 2025, provides a comprehensive walkthrough for deploying MongoDB on DigitalOcean, configuring it for production, and connecting it to applications, ensuring both novice and experienced users can leverage this powerful combination effectively.
Background and Context
MongoDB operates as a document-oriented database, utilizing JSON-like documents with dynamic schemas, contrasting with traditional relational databases. This flexibility makes it suitable for applications needing frequent schema changes without downtime. DigitalOcean’s 1-Click App automates the initial setup, installing MongoDB and configuring basic settings, which is particularly beneficial for developers seeking rapid deployment without deep infrastructure management knowledge.
Prerequisites
Before initiating deployment, ensure the following are in place:
- A DigitalOcean account, accessible via their website.
- Basic familiarity with SSH and command-line interfaces, essential for post-deployment configurations.
These prerequisites ensure users can follow the guide without encountering fundamental access issues, setting the stage for a smooth deployment process.
Step-by-Step Deployment Process
Step 1: Creating the MongoDB Droplet
The deployment begins with creating a Droplet using DigitalOcean’s 1-Click App:
- Log into your DigitalOcean account and navigate to the Marketplace.
- Search for “MongoDB” or browse the 1-Click Apps to locate the MongoDB option.
- Select a droplet size; it is recommended to choose at least 2GB RAM for optimal MongoDB performance, typically costing around $20/month based on historical pricing.
- Choose a datacenter region closest to your user base or based on latency preferences.
- Configure additional settings, such as adding SSH keys for secure access, and click Create Droplet to initiate deployment.
This step leverages the automation of the 1-Click App, installing MongoDB (version details may vary, but typically recent stable releases as of 2025) and setting basic configurations, resulting in a ready-to-use database server.
Step 2: Accessing the Droplet
Post-deployment, access the Droplet via SSH to manage and configure MongoDB:
- Use the command ssh root@your_droplet_ip, replacing your_droplet_ip with the public IP address listed in the DigitalOcean control panel.
- Upon login, MongoDB is pre-installed and running. Default credentials include an admin username of admin, with the password stored in /root/.digitalocean_passwords for initial access.
This step ensures users can interact with the database, verifying its operational status and preparing for further configuration.
Step 3: Configuring MongoDB for External Access (Optional for Production)
By default, MongoDB listens on localhost (127.0.0.1), restricting external access. For production environments requiring remote connections:
- Edit the configuration file with sudo nano /etc/mongod.conf.
- Modify the net section to include bindIp: 0.0.0.0, allowing connections from any IP:
-
net: port: 27017 bindIp: 0.0.0.0 - Save and exit, then allow traffic on port 27017 through the firewall:
-
sudo ufw allow 27017 - Restart MongoDB to apply changes:
-
sudo systemctl restart mongod
This configuration is optional but critical for applications needing external database access, enhancing flexibility but requiring additional security measures.
Step 4: Enabling MongoDB Authorization (Recommended for Production)
Security is paramount, especially in production. Enable access control to protect your database:
- Set the locale to avoid encoding issues:
-
export LC_ALL=C - Connect to the MongoDB shell:
-
mongosh - Switch to the admin database and create an admin user:
-
use admin db.createUser({ user: "adminUser", pwd: "yourSecretPassword", roles: [{ role: "userAdminAnyDatabase", db: "admin" }] }) - Exit the shell, then edit /etc/mongod.conf to enable authorization:
-
security: authorization: enabled - Restart MongoDB:
-
sudo systemctl restart mongod - Connect using the new credentials:
-
mongosh -u adminUser -p yourSecretPassword --authenticationDatabase admin
This step ensures only authorized users can access the database, aligning with best practices for production environments.
Step 5: Creating Databases and Users
With authorization enabled, create databases and users for your applications:
- Connect with the admin user as shown above.
- Create a new database, e.g., mydatabase:
-
use mydatabase - Create a user for this database:
-
db.createUser({
  user: "myuser",
  pwd: "mysecretpassword",
  roles: [{ role: "readWrite", db: "mydatabase" }]
})
Users can create multiple databases and users, tailoring access control to application needs, enhancing security, and organization.
Step 6: Connecting to MongoDB from Your Application
Finally, connect your application to the MongoDB instance. The method varies by programming language; here’s an example using Python with PyMongo:
from pymongo import MongoClient

client = MongoClient("mongodb://myuser:mysecretpassword@your_droplet_ip:27017/mydatabase")
db = client["mydatabase"]

# Example operations
db.mycollection.insert_one({"name": "John", "age": 30})
print(db.mycollection.find_one())
Replace placeholders with actual credentials and IP address, ensuring secure connection strings, possibly using environment variables for production.
Best Practices and Security Tips
To maintain a robust and secure MongoDB deployment:
- Backups: Regularly back up data using DigitalOcean snapshots or MongoDB replication. Consider automated backup solutions for critical data.
- Updates: Keep the droplet and MongoDB updated to leverage security patches and performance improvements, using apt update and apt upgrade for Ubuntu-based droplets.
- Monitoring: Utilize tools like DigitalOcean’s monitoring or third-party solutions to track performance, adjusting resources (e.g., RAM, CPU) as needed.
- Security: Always enable authorization, use strong passwords, and consider SSL/TLS for encrypted connections, especially for remote access.
These practices ensure longevity and security, critical for production environments.
Troubleshooting Common Issues
Encountering issues is common; here are solutions for frequent problems:
- Connection Refused: Verify firewall settings with sudo ufw status and ensure MongoDB listens on the correct interface (bindIp in /etc/mongod.conf).
- Authentication Errors: Double-check username, password, and authentication database in connection strings.
- Performance Issues: Monitor resource usage via top or DigitalOcean’s dashboard, considering upgrading droplet size if under-resourced.
These troubleshooting steps help resolve common deployment hurdles, ensuring smooth operation.
Comparative Analysis and Additional Considerations
While the 1-Click App simplifies deployment, users should note alternatives like DigitalOcean’s Managed Databases for MongoDB, offering managed services with automatic backups and scaling, though at a higher cost (starting at $15.225/month as of recent pricing). The 1-Click App suits users preferring manual control, but Managed Databases may appeal to those prioritizing ease and scalability.
Security configurations, such as enabling authorization, align with MongoDB’s official recommendations MongoDB Security Checklist, ensuring compliance with best practices. Remote access, while configurable, requires careful firewall and network setup to mitigate risks, balancing accessibility with security.
Conclusion
Deploying MongoDB using DigitalOcean’s 1-Click App is an efficient process, enabling rapid setup for developers and IT professionals alike. By following this guide, users can establish a secure, scalable database, ready for production use as of August 5, 2025. The steps ensure both ease of deployment and robust configuration, encouraging users to leverage this powerful combination for their application needs, focusing on innovation rather than infrastructure management.
